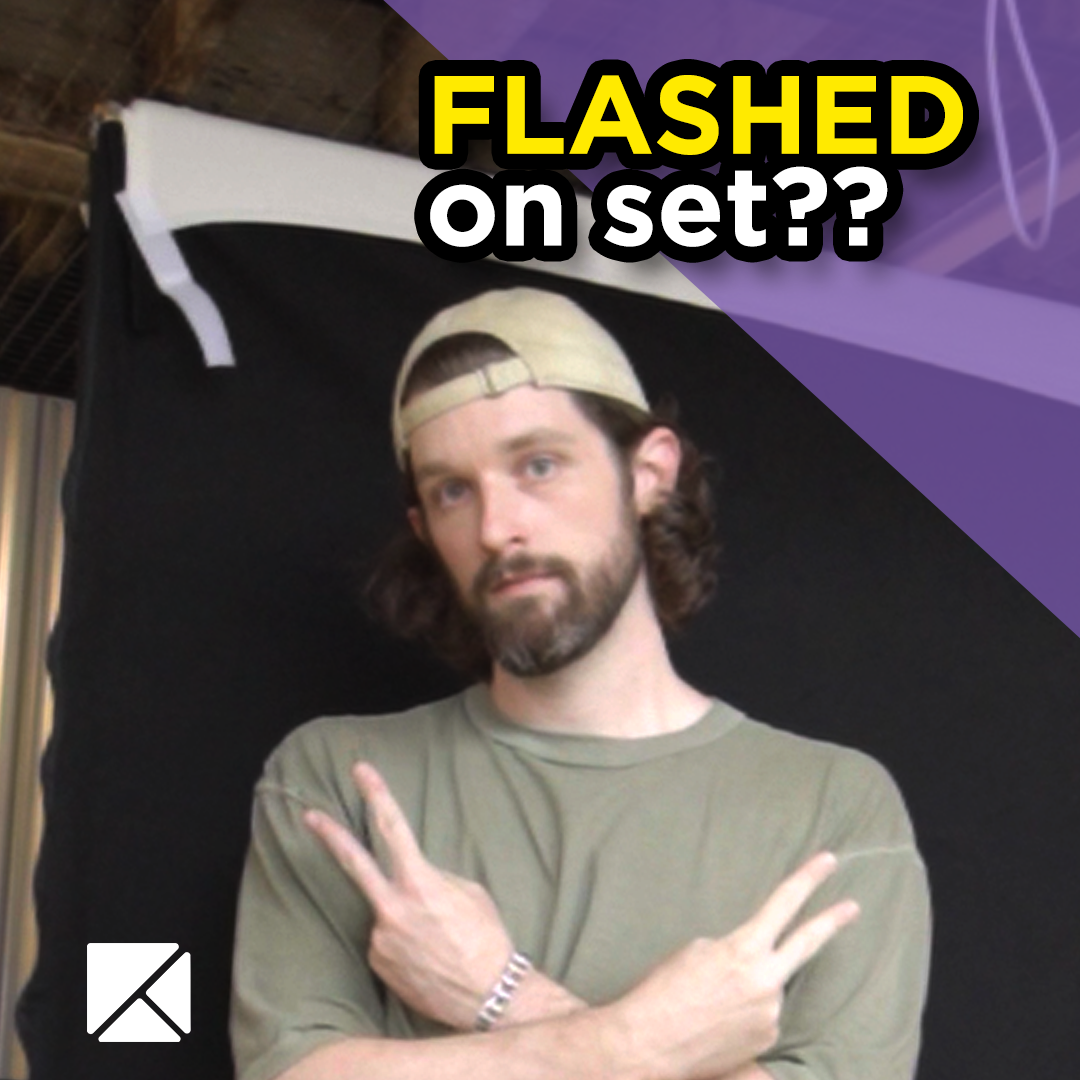
Working on set with a photographer is always interesting.
You never know when you’ll be flashed.
Shooting video on an active professional photography set is always a challenge, but it’s one that I really enjoy. It requires constant vigilance, like filming between the strobes or jumping out of the way of the photographer so you can both get the shot.
Since working with my client, Matthew Sewell Photography, we have done a number of product-focused videos in Little Rock, Arkansas. Our last project, however, was the biggest by far.
Recently, Matthew was picked as a brand ambassador for Westcott Lighting. This is no small feat; Westcott strictly hand-selects their ambassadors based on top-tier talent behind the camera.
This brand ambassadorship came with two video needs: an official announcement and a new product announcement—the Westcott V-Flat.
In this post, I’ll talk about my approach to both videos and how it resulted in two different, high-quality Instagram Reels.
Key Takeaways
Shoot Native Vertical for Confidence: Don’t rely on shooting wide and cropping in post for Instagram Reels. Rotating your camera 90 degrees on a cage ensures your framing is exactly how you want it in the final edit
Pre-Plan Sound Design for Faster Turnaround: Selecting your music tracks and sound effects before you enter the edit bay makes fast turnarounds more achievable.
The Setup
On this shoot, I used the Sony A7III, paired with a Small Rig cage and side handle. This is my main handheld shooting load out, allowing me to shoot both horizontal and vertical content effortlessly. Because the purpose of this video shoot was to capture footage for Instagram reels, I rotated the camera 90 degrees and attached the handle to the underside.
Some videographers prefer to shoot vertical and just capture it really wide, but that kind of stuff makes me nervous. I like to see the shot as it will be in the edit. This serves the dual purpose of making me more confident during video production and keeps my editor from crying.
(My editor is me)
Westcott Brand Ambassador Announcement Video
In the time leading up to this gig, Matthew sent me a couple of examples of content he liked. I got out my most versatile piece of equipment, pen and paper, and spent an hour watching through the Instagram Reels and taking notes. I noticed a few key similarities between all of them:
Moving Shots - panning, pushing, tilting, rotating
High-energy Music - pop, hip hop, mostly beat-driven music to match the shots
Sound Design - heavy emphasis on sound design, using clicks, pops, and swoosh sound effects to elevate the moving shots
With this in mind, I jotted down a couple of ideas in my second most versatile piece of equipment, my phone’s notes app, and headed to Matthew’s photography studio in Little Rock, Arkansas.
Once I got there, I decided to try a couple of different shots. Even before his sponsorship, Matthew heavily relied on Westcott Lighting Equipment. Out of all the options, I decided to focus on the touchscreen strobe line. Matthew had the full range of strobes, so I thought it would be fun to see them all together.
To light the scene itself, I used the Westcott Ice Light 3 RGBWW LED Kit, doing several takes with different colors and camera movements so that I’d have options to send to my editor.
Once I got into the editing room and pulled the footage into Adobe Premiere Pro, the video’s storyline became clear: Matthew setting up, using, and putting away the strobes. A lot of my best footage was from this portion of the shoot, so I decided to go all in on it. I put the clips on the timeline, threw in a couple of speed ramps, and set the tone for the rest of the Reel.
Just a side note, pray for your editor friends. Speed ramping will be the death of us.
Then, I threw color on using CineDream and added a little bit of NeatVideo Noise Reduction v6, just for good measure. After that, it was time for my favorite part of the process: music selection and sound design.
This process went by FAST because I’d already pre-selected both of these. I tried to pick sound effects from Storyblocks that would elevate what’s happening onscreen: wooshes, clicks, and pops. It came together with the music to make a really fun, fast-paced edit.
Westcott V-Flat Official Announcement Video
While the brand ambassador video was a little more open-ended, Matthew had a clear vision for the V-Flat announcement video. The Westcott V-Flat is different because, unlike traditional foam-board v-flats, it is composed of a metal frame covered with high-quality fabric.
Matthew wanted a time lapse video of him unboxing the product, constructing the metal frame, adding the fabric, and using it on a shoot. One thing I really appreciate about working with another creative, especially one behind the camera, is they know the ins and outs of production. He was able to clearly communicate what he wanted, meaning that I could easily make it happen.
For this video, we had forty five minutes before the model arrived for the demonstration. I immediately set up the camera on my tripod, also opting for a vertical frame, and got the scene lit while Matthew brought in the box. Once it was set up, we got to work right away, capturing the full process.
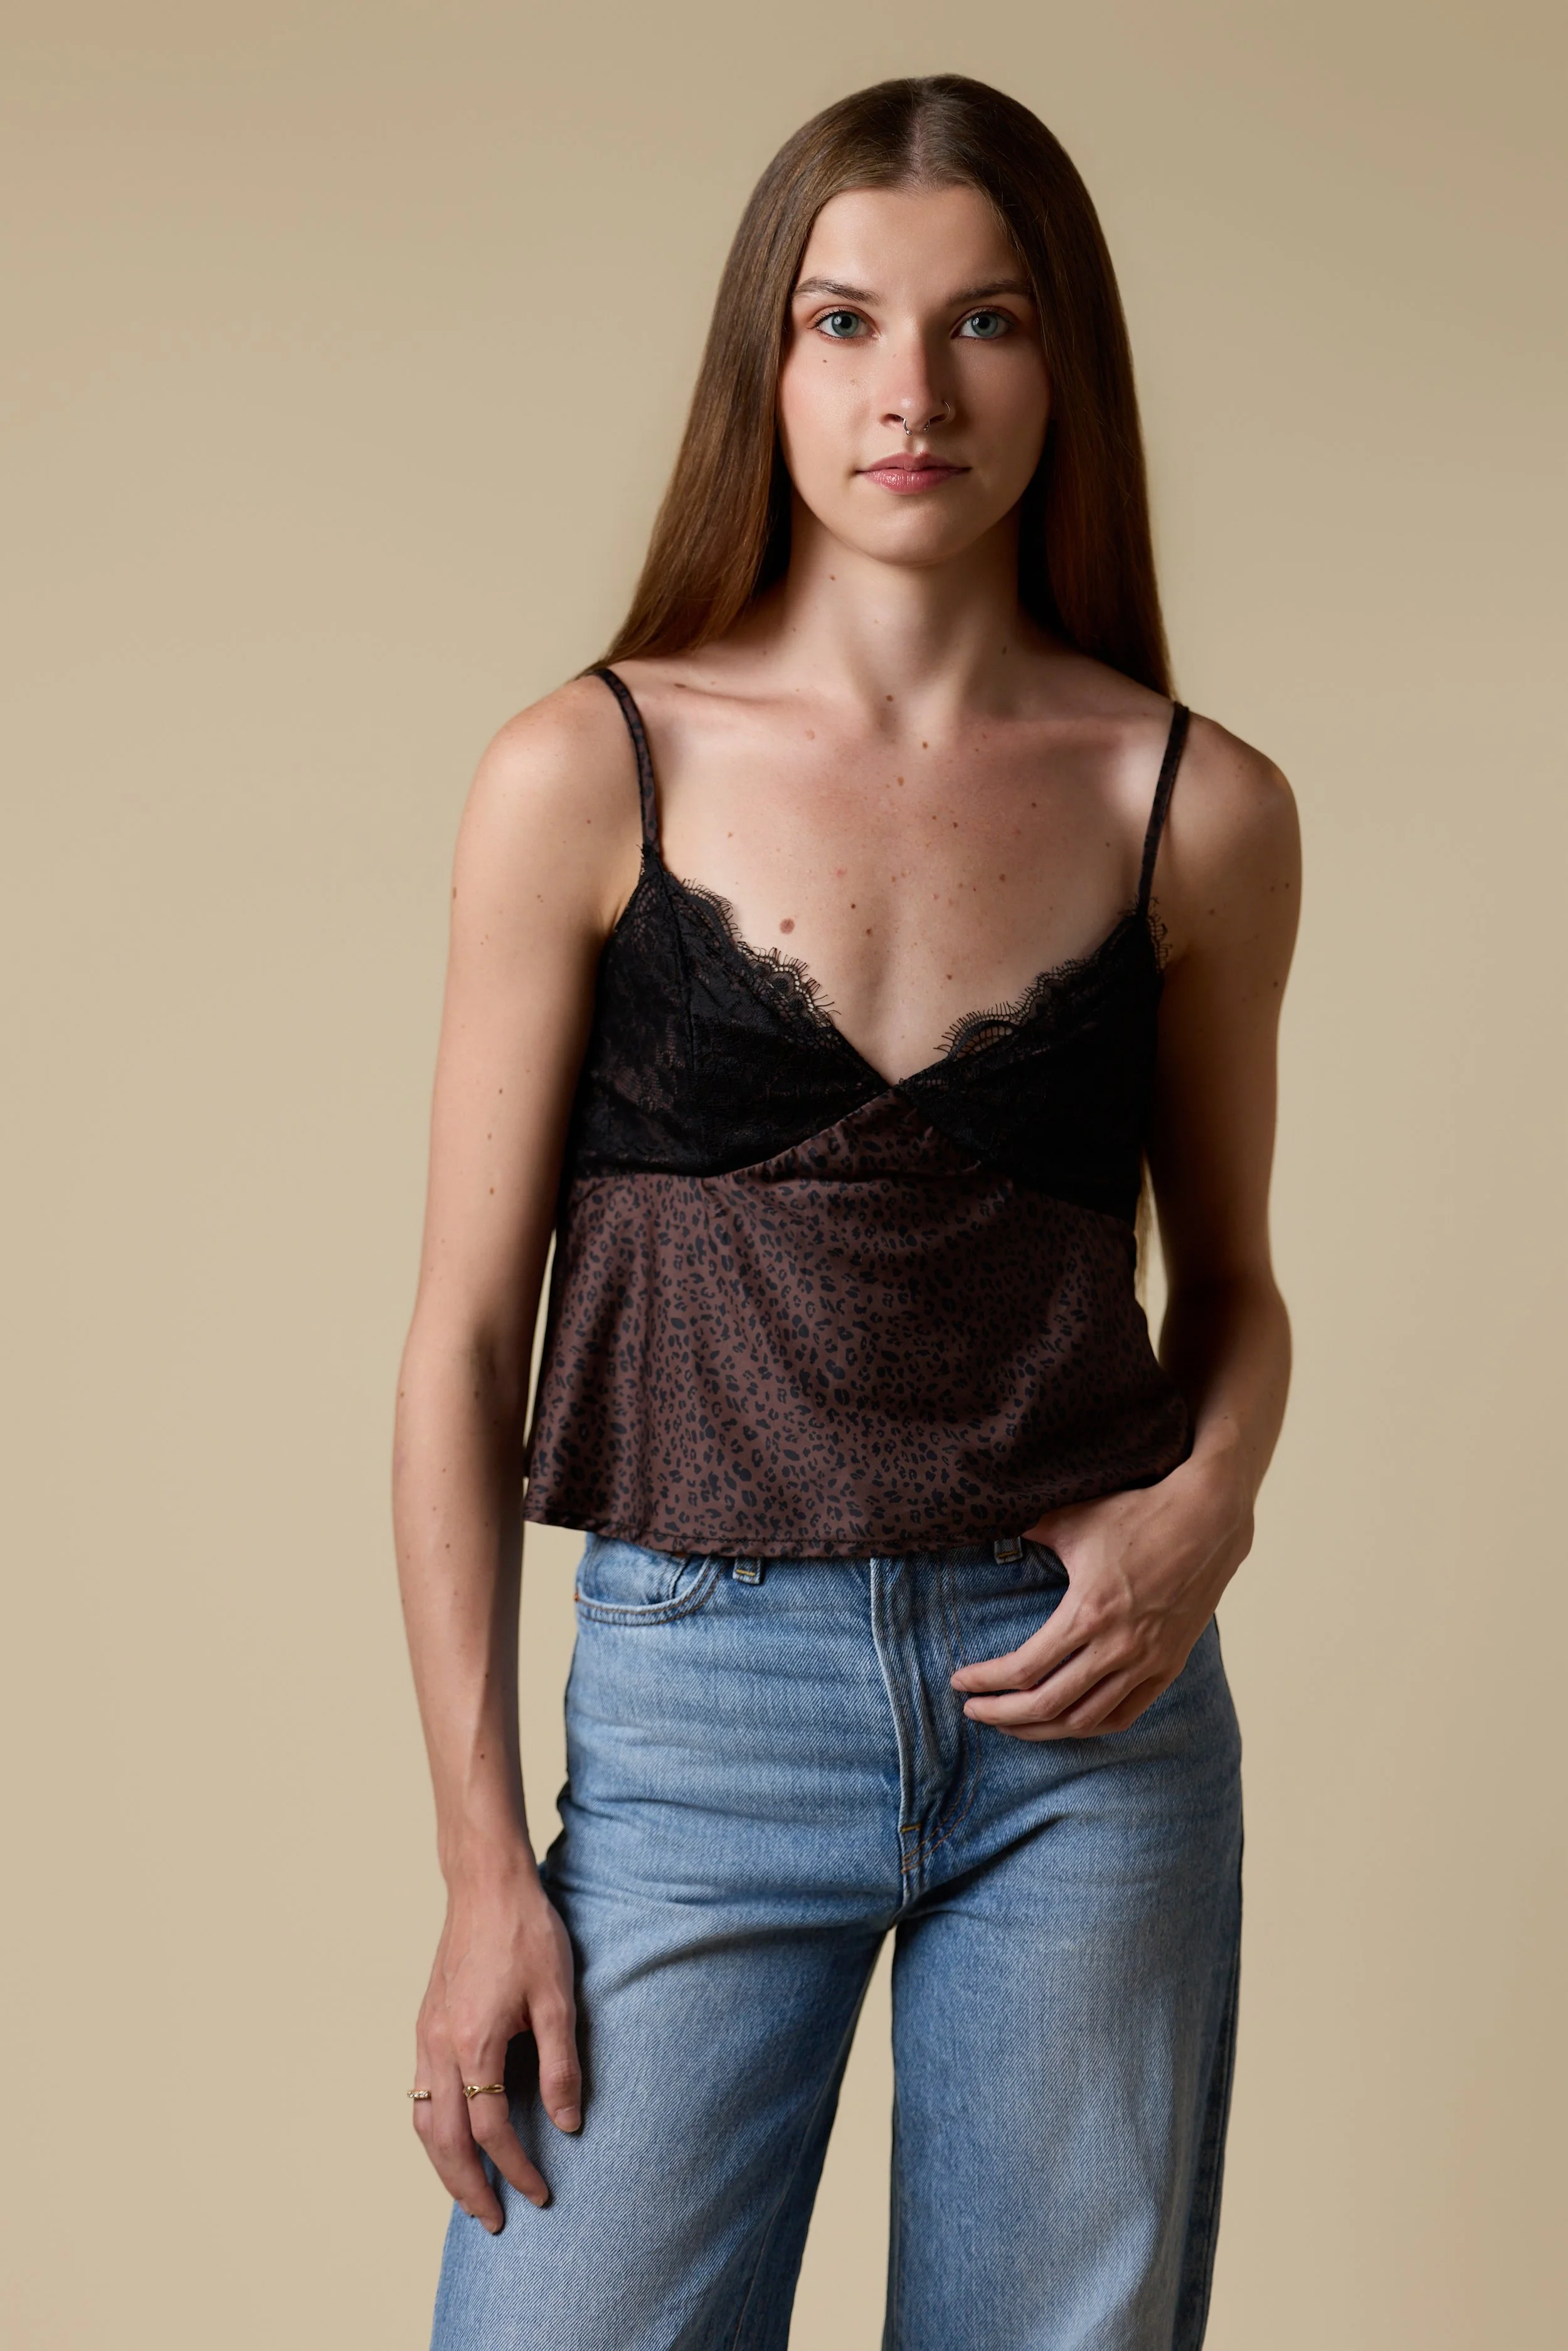
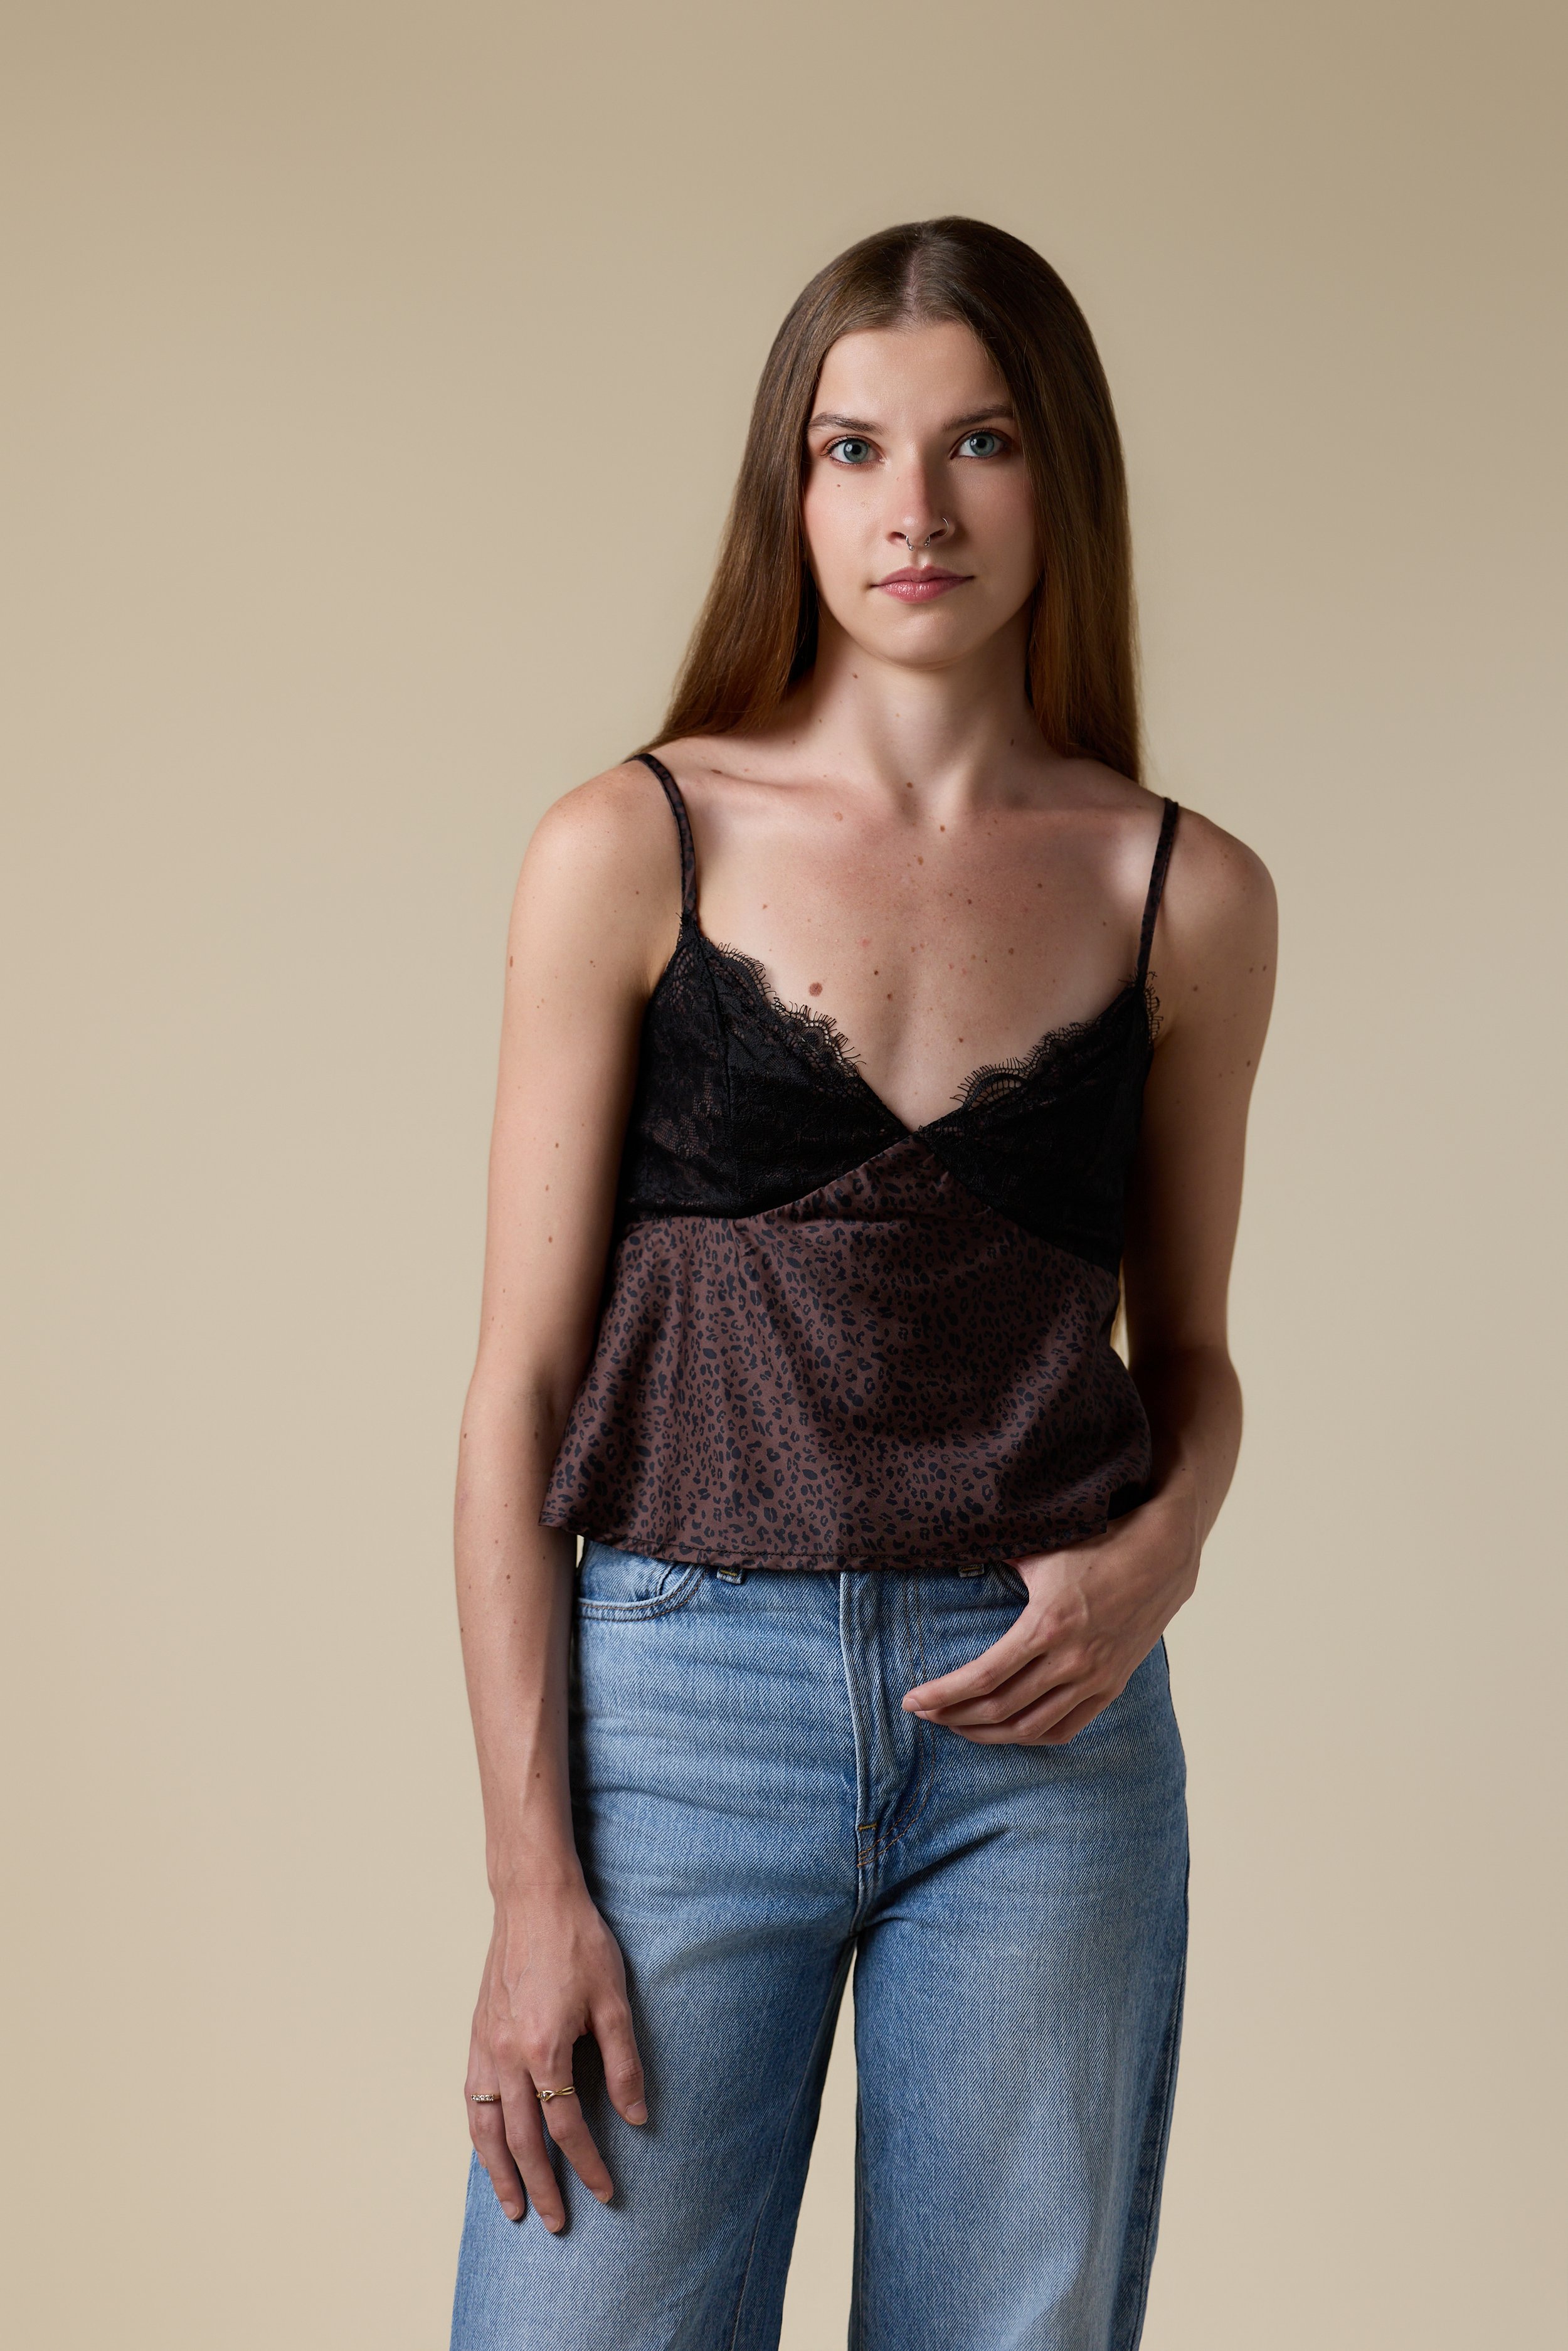
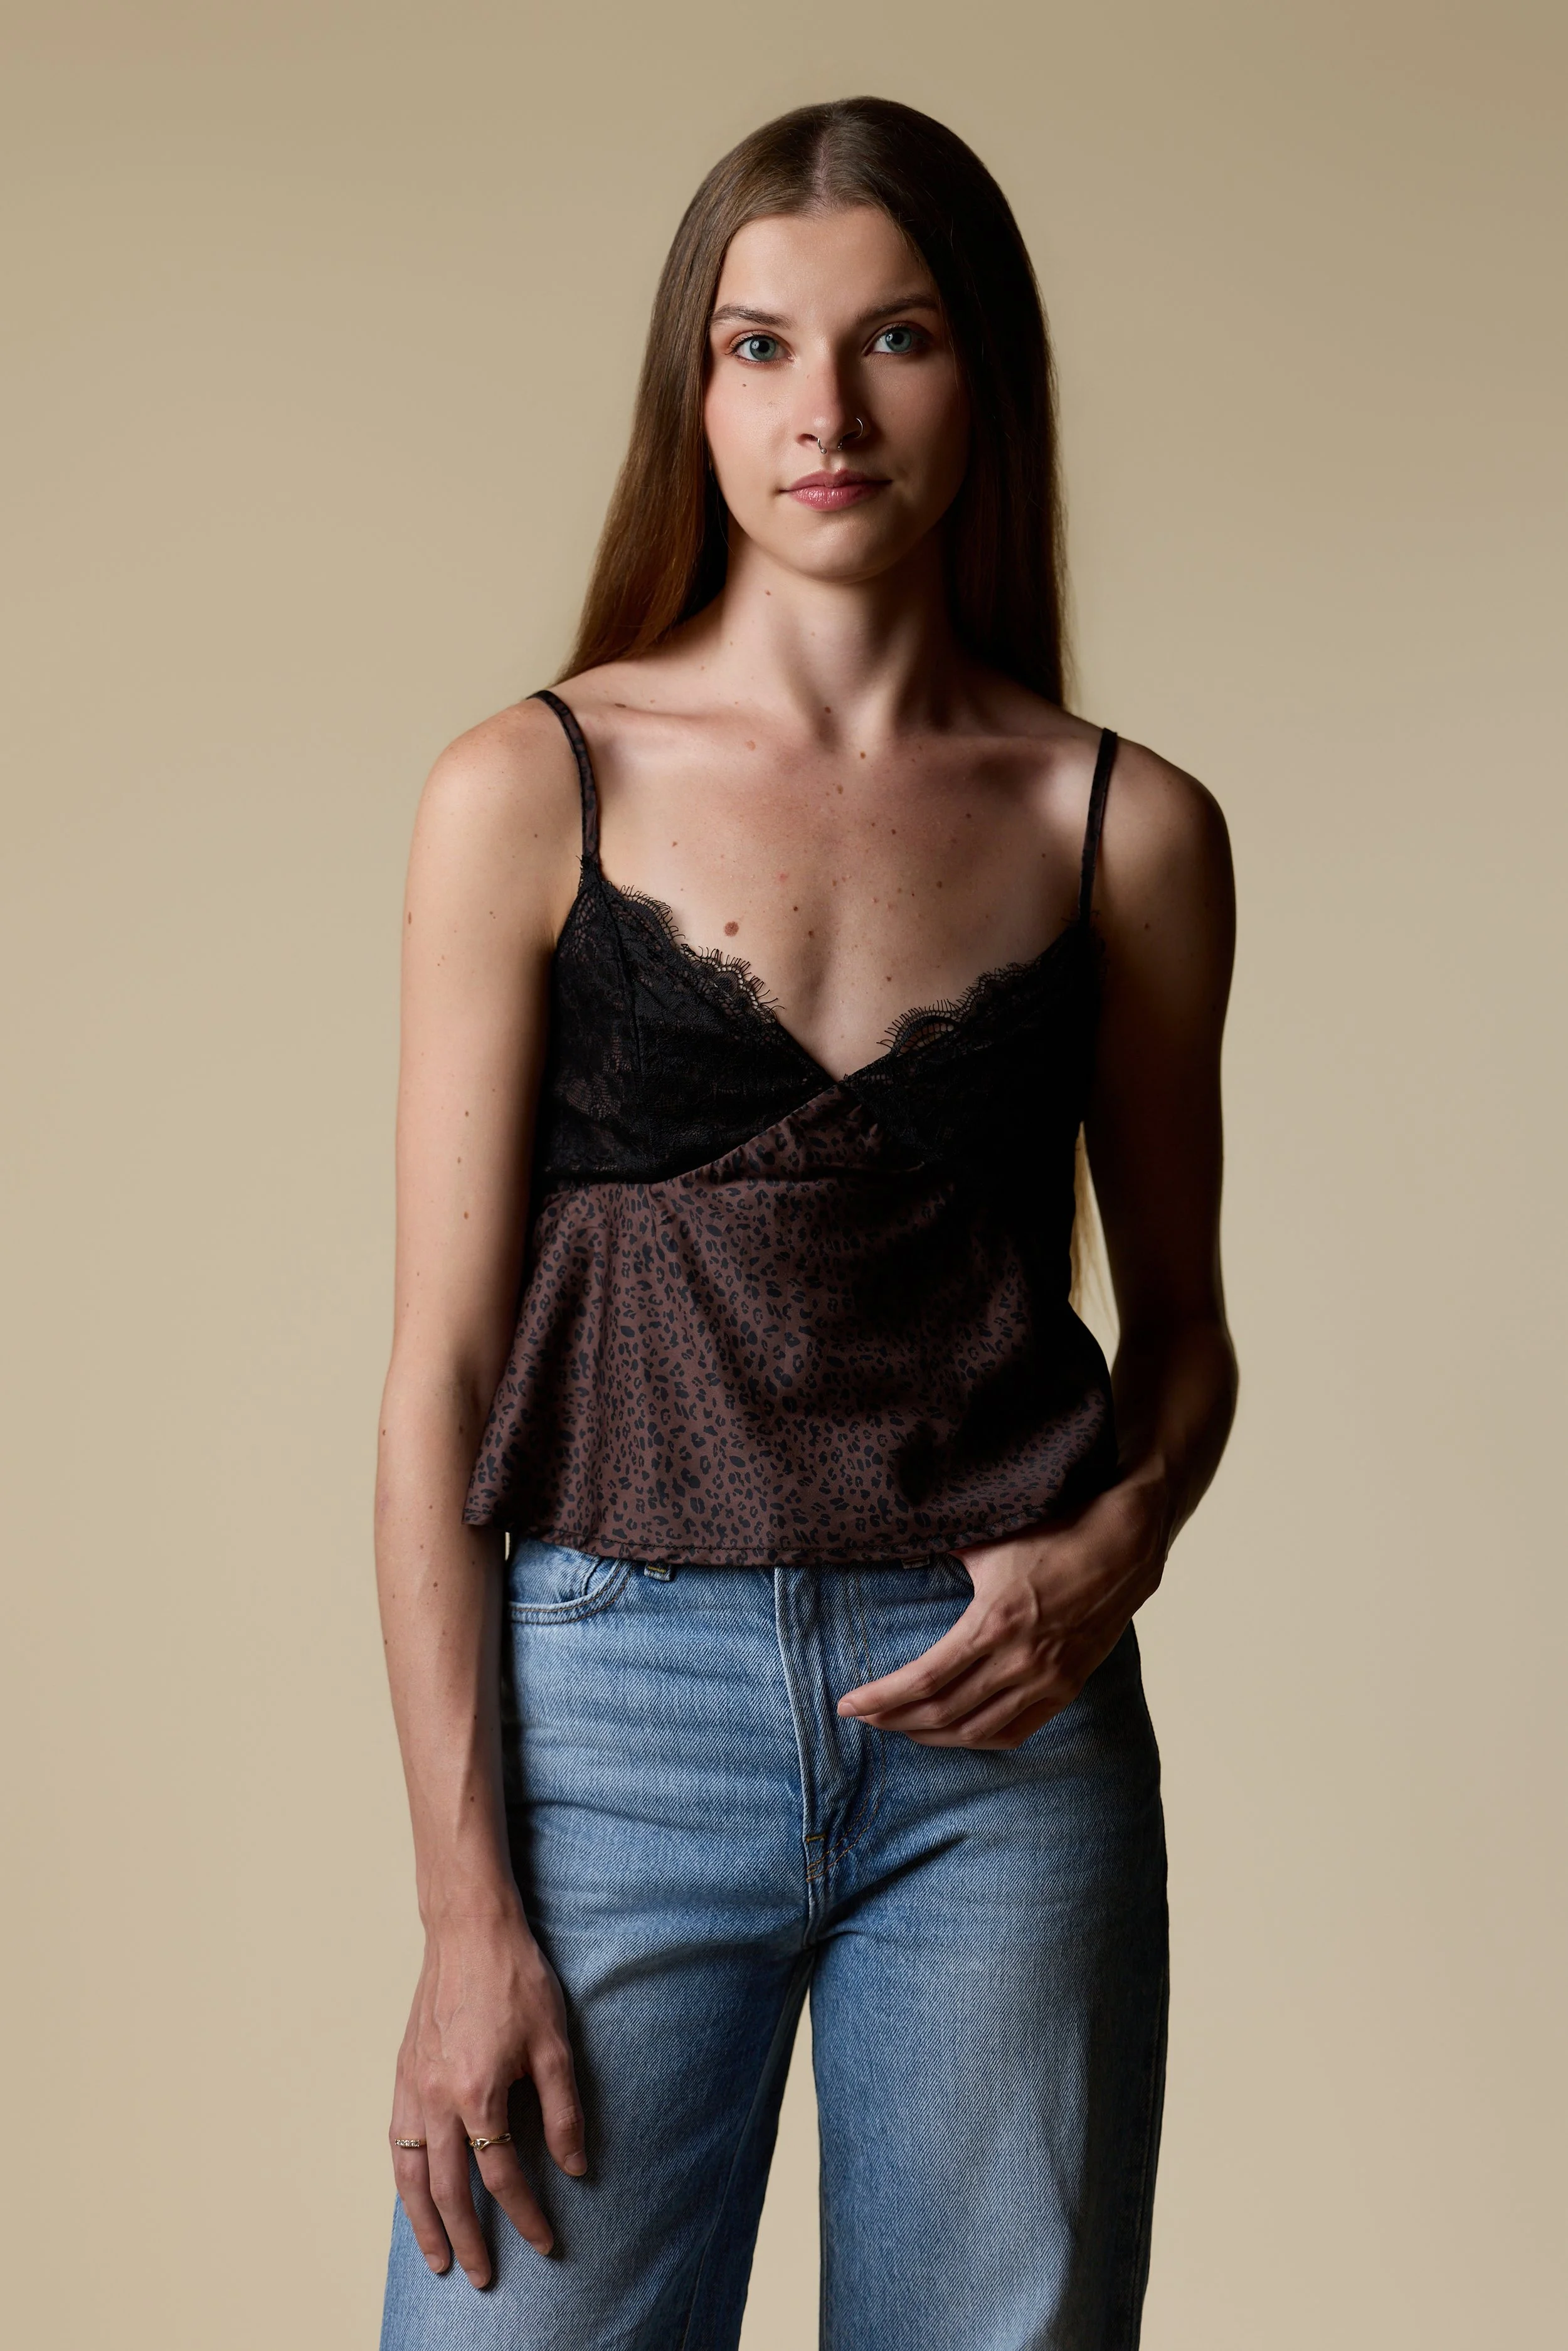
After that, I swapped to handheld to capture the actual shoot. Mixing in a couple of moving shots, just to keep it interesting. The most important thing here, however, was to make sure I had shots of the model and Westcott V-Flat together, so that we could see it before revealing the result.
This video required a QUICK turnaround. Matthew’s V-Flat was delayed during shipping, meaning that he didn’t receive the product until the day before the product launch, giving us about 12 hours to shoot, edit, and release the video.
Luckily, Matthew’s creative vision saved the day, meaning the edit was much more about putting the puzzle pieces together, rather than attempting to craft a whole story from the footage.
The most time-consuming part of the edit was sound design. I didn’t capture audio during the time lapse, mostly because I knew it would be heavily sped up and chopped up. Ahead of time, I pulled a bunch of metal sound effects from Storyblocks: hinges, metal parts moving, and even some clanging.
We got this turned around just in time and pushed it out for the release day!
Two Videos, Two Strategies, One Goal
Looking back at these two videos, I love how they perfectly showcase completely different sides of commercial video production, even though they were for the same client and brand.
The first video was a complete creative sandbox. It was all about creating cohesive shots that could be easily sped up, then combined into a high-energy vibe in the edit bay. The V-Flat video was the opposite: a fast-turnaround sprint where the story was strictly defined and the challenge was executing a professional product launch video in twelve hours. (and I slept for six of them)
At the end of the day, both videos achieved the same goal: Making Matthew Sewell Photography and Westcott Lighting gear look incredible.
Whether we have weeks to conceptualize a hype video or 12 hours to pull off a launch day miracle, finding the right approach is one of my favorite parts of the job. These types of creative challenges make my profession as a Little Rock Videographer so satisfying.
If you’re a Little Rock business owner or content creator and are looking for a production partner who can handle creative brainstorming, launch-day sprints, and high-energy edits, let’s connect.